

How to get a free custom email domain + hosting AND launch your first newsletter


Many tutorials have become out-of-date, aren't truly free, are unnecessarily complicated, or provide email services that aren't compatible with others. Since I've managed to solve this on my own, I might as well share how I did it!
This website is being hosted on Netlify, which doesn't offer email hosting. Since I wanted to write newsletters, I had to find a way to get a custom email domain!
I'd also decided to use ButtonDown to write newsletters, so I wanted to make sure that everything works smoothly.
Let's get started right away!
Receiving and sending emails
I assume you've already registered your domain (I use NameSilo by the way 😉) and are hosting on Netlify. We'll be adding DNS records through Netlify.
For receiving and sending emails, we'll use Zoho. Zoho's email service has a free plan that includes using your custom domain. If you don't mind not being able to do any IMAP/POP for forwarding, it's the perfect free solution.
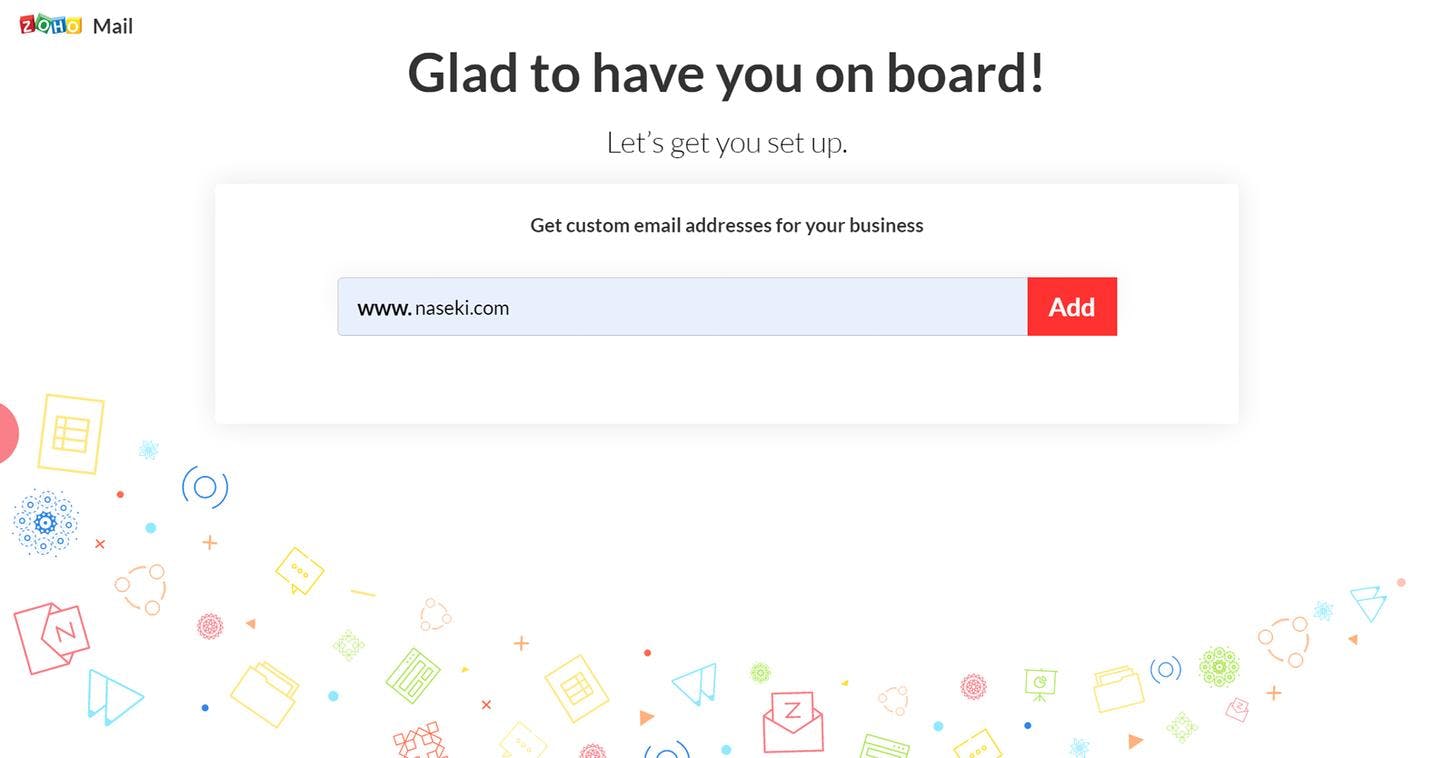
1. Register to Zoho
Visit Zoho's pricing page, scroll down to the "Forever Free Plan" and sign up. Write your domain and complete your registration. Don't worry about choosing a name for your admin account, you'll be able to create as many aliases as you like.
2. Add DNS records
Zoho takes you through its onboarding progress, including adding DNS records.
First, we need to verify our domain. Select "Others" from the list of DNS managers. We'll verify the site through a TXT record.
To do to Netlify's DNS settings, go to your Netlify dashboard, select your domain, go to Domain Settings, and then Go to DNS panel under your primary domain's options. Adding a new record gets you a modal where you can fill in the DNS record.
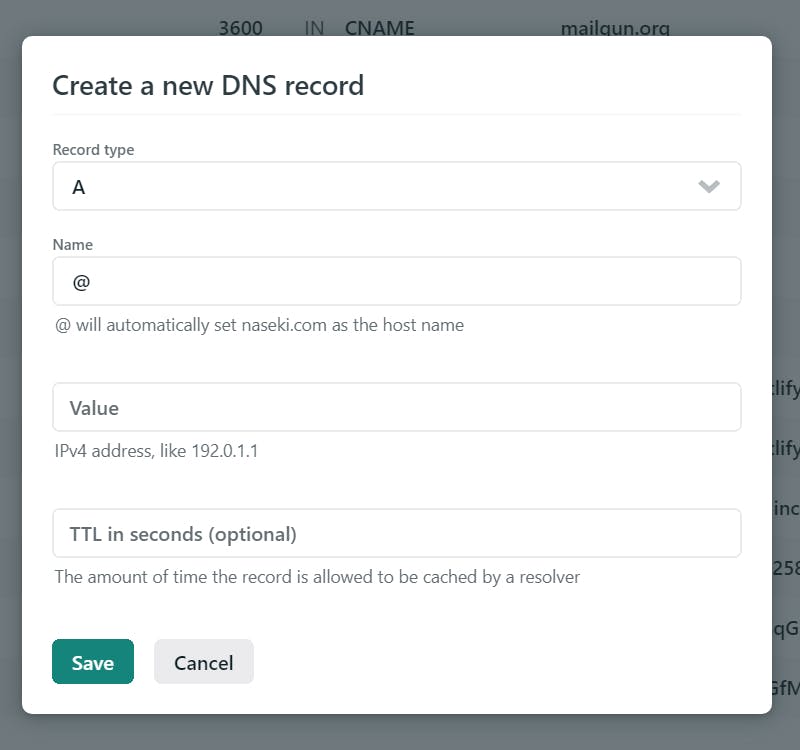
Here's what needs to be filled in (TTL in seconds to be left blank):
- Record type: TXT
- Name: @
- Value: zoho-verification=(code provided by Zoho).zmverify.zoho.eu
It may sometimes take a while before the DNS records get updated, so if the verification doesn't work right away, try again.
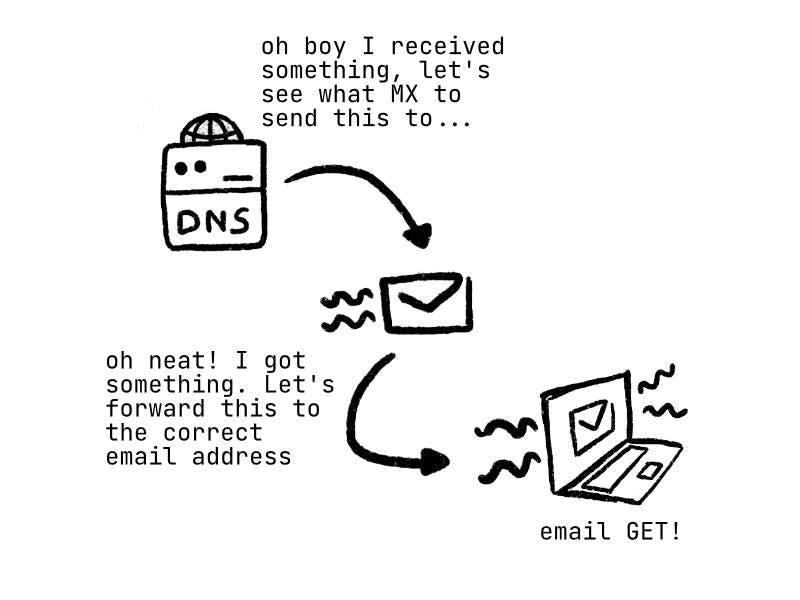
Next, we add the MX records. MX (Mail Exchange) records specify the server that should handle emails. Each MX record has its priority number, the lower the number the higher the priority of that server. This means that when an email to the domain is detected, the server with the highest priority will catch it.
Zoho has 3 different MX records in case one of them is down. Here's an overview of all three.
| Record type | Name | Priority | Value |
|---|---|---|---|
| MX | @ | 10 | mx.zoho.eu |
| MX | @ | 20 | mx2.zoho.eu |
| MX | @ | 50 | mx3.zoho.eu |
Zoho is one of the few email services that allow you to have MX records from different services. This is the reason why I decided to go for it as Zoho allows you the most freedom when it comes to DNS records.
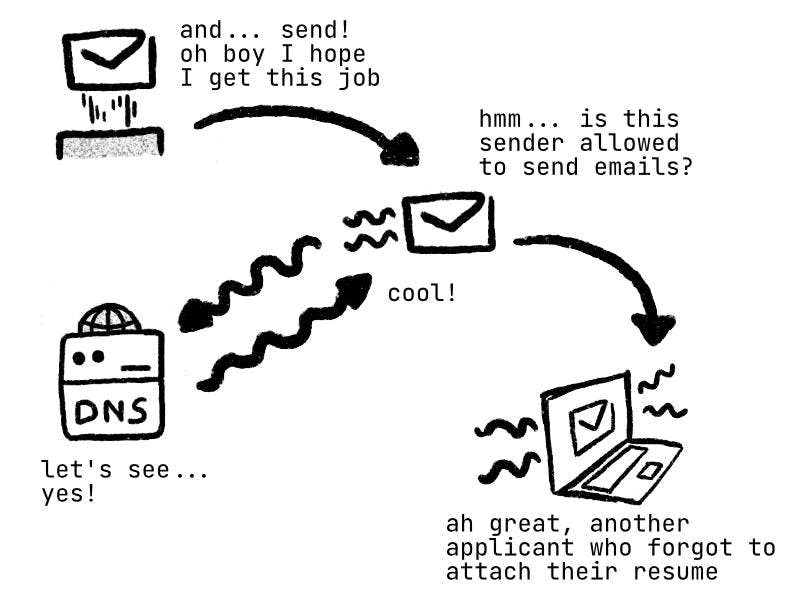
Lastly, we add SPF (Sender Policy Framework), which is another TXT record. It allows Zoho to send your emails through its server. You'll only be able to receive emails without adding the SPF.
Here's the TXT record that needs to be added:
- Record type: TXT
- Name: @
- Value: v=spf1 include:zoho.eu ~all
This record needs to be modified later in the tutorial during the newsletter setup, but we'll use this for now.
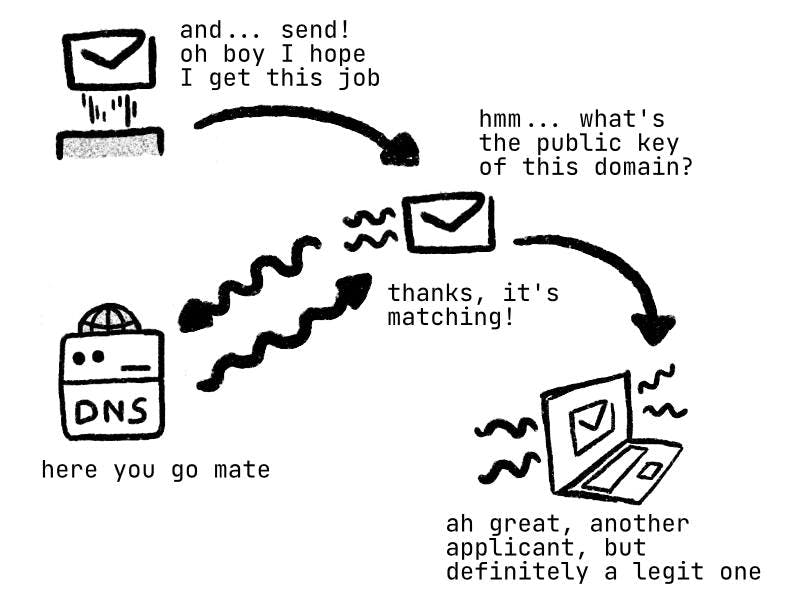
You can also add a DKIM signature to your domain. A DKIM (DomainKeys Identified Mail) signature is a unique identifier for your email address so your emails won't end up in spam, since it verifies that the email hasn't been spoofed. This is optional but highly recommended.
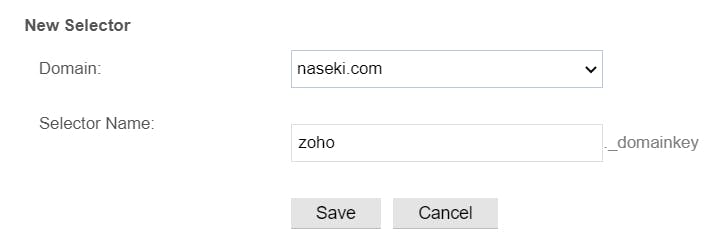
Click on Proceed to Configure DKIM and you'll be taken to another page to create a new selector. The selector's name can be anything you like. Personally, I go for "zoho" to ensure the name won't conflict with anything else I may add in the future.
You'll then have to create a TXT record that contains the following:
- Record type: TXT
- Name: zoho._domainkey (or whatever selector name you've chosen)
- Value: v=DKIM1; k=rsa; p=(your unique key, don't show this anywhere in public!)
3. Create your email aliases (optional)
Now that everything has finally been set up, it's time to create some aliases if you need any.
To create an alias for your existing account, go to Zoho's Control Panel, go to User Details, and select your account. Then, go to Mail Accounts and you'll be able to manage your aliases there.
Zoho allows you to use as many aliases as you like, so feel free to go crazy there.
And that's it! Feel free to test your new email address by sending an email to it and sending one back.
Sending newsletters
I wanted to go for ButtonDown because it's a very generous newsletter service. It's free when you have under 1000 subscribers. You can also generate RSS feeds, and it automatically creates a newsletter archive for you. On top of that, it's very privacy-friendly. Definitely something to appreciate!
Zoho also has its own newsletter service that has a free plan as well, so feel free to check that out if you prefer to stay in the Zoho ecosystem.
1. Register your account and set up your newsletter
Your username will be used to refer to you in newsletters (eg. in the from field), while your email address will be the custom domain used to send your newsletter. The email address you use for the newsletter can be an alias you made in your Zoho account. It doesn't have to be though, especially if you add ButtonDown's MX records. I just think it's more convenient to receive all your emails in one place.
You can change these any time of course.
2. Add DNS records
Yup, we're doing the DNS thing again.
First, we add the MX records. For the same reason as Zoho, it has 2 records so the second can backup the first. ButtonDown doesn't provide any priority numbers, so we have to choose those ourselves.
ButtonDown's MX records aren't necessary since Zoho already manages inbound mails for you, but since some email services check MX records to see whether the email should be in spam or not, so I'd rather just keep them.
In order to avoid the least conflict possible, we put ButtonDown's MX records in an entirely different subdomain. ButtonDown allows its MX records to be put anywhere on your domain. Feel free to choose any subdomain here. Personally, I went for "buttondown".
| Record type | Name | Priority | Value |
|---|---|---|---|
| MX | buttondown | 10 | mxa.mailgun.org |
| MX | buttondown | 20 | mxb.mailgun.org |
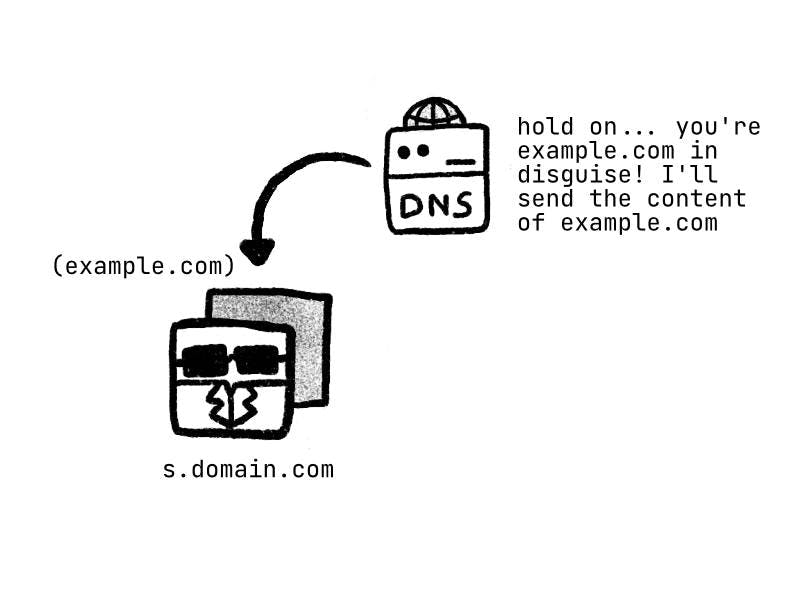
Next, we add a CNAME record. A CNAME (Canonical Name) record will run a server under the domain you've chosen. In this case, ButtonDown uses Mailgun's CNAME record to be able to track email clicks and opens using Mailgun's API. If you want analytics on your emails, you'll need this.
Lastly, we add a few TXT records. The following is for domain verification:
- Record type: TXT
- Name: smtp._domainkey
- Value: k=rsa; p=(your unique key, don't show this anywhere in public!)
Now we need to do some tinkering. Both Zoho and ButtonDown use SPF for sending emails, and adding both records separately leads to some conflicts, since they check the first SPF that appears and nothing else. This means that all SPFs need to be in one record. We're going have to merge the two.
Delete the current SPF that we've added earlier, since we can't edit records. Instead, add this record:
- Record type: TXT
- Name: @
- Value: v=spf1 include:zoho.eu include:mailgun.org ~all
v=spf1 refers to the type of TXT, ~all refers to the domains being allowed to send anything, and between these two you can include any domains to allow them to send emails.
So now, both Zoho and Mailgun are allowed to send emails. Neat!
Once again, it could take a while for the DNS records to be updated. If the verification doesn't work right away, try again.
And there we go! Not only you have a free custom domain for your email now, you even have an up and running newsletter! ButtonDown is full of options, so make sure to look around and customise it to your audience's needs.
And of course, now that I have a newsletter...
Thanks for reading! 💻
If you wanna stay up to date with dev, subscribe to my newsletter! I send a couple of articles and resources once a week and will let you know when I've written a new article as well.